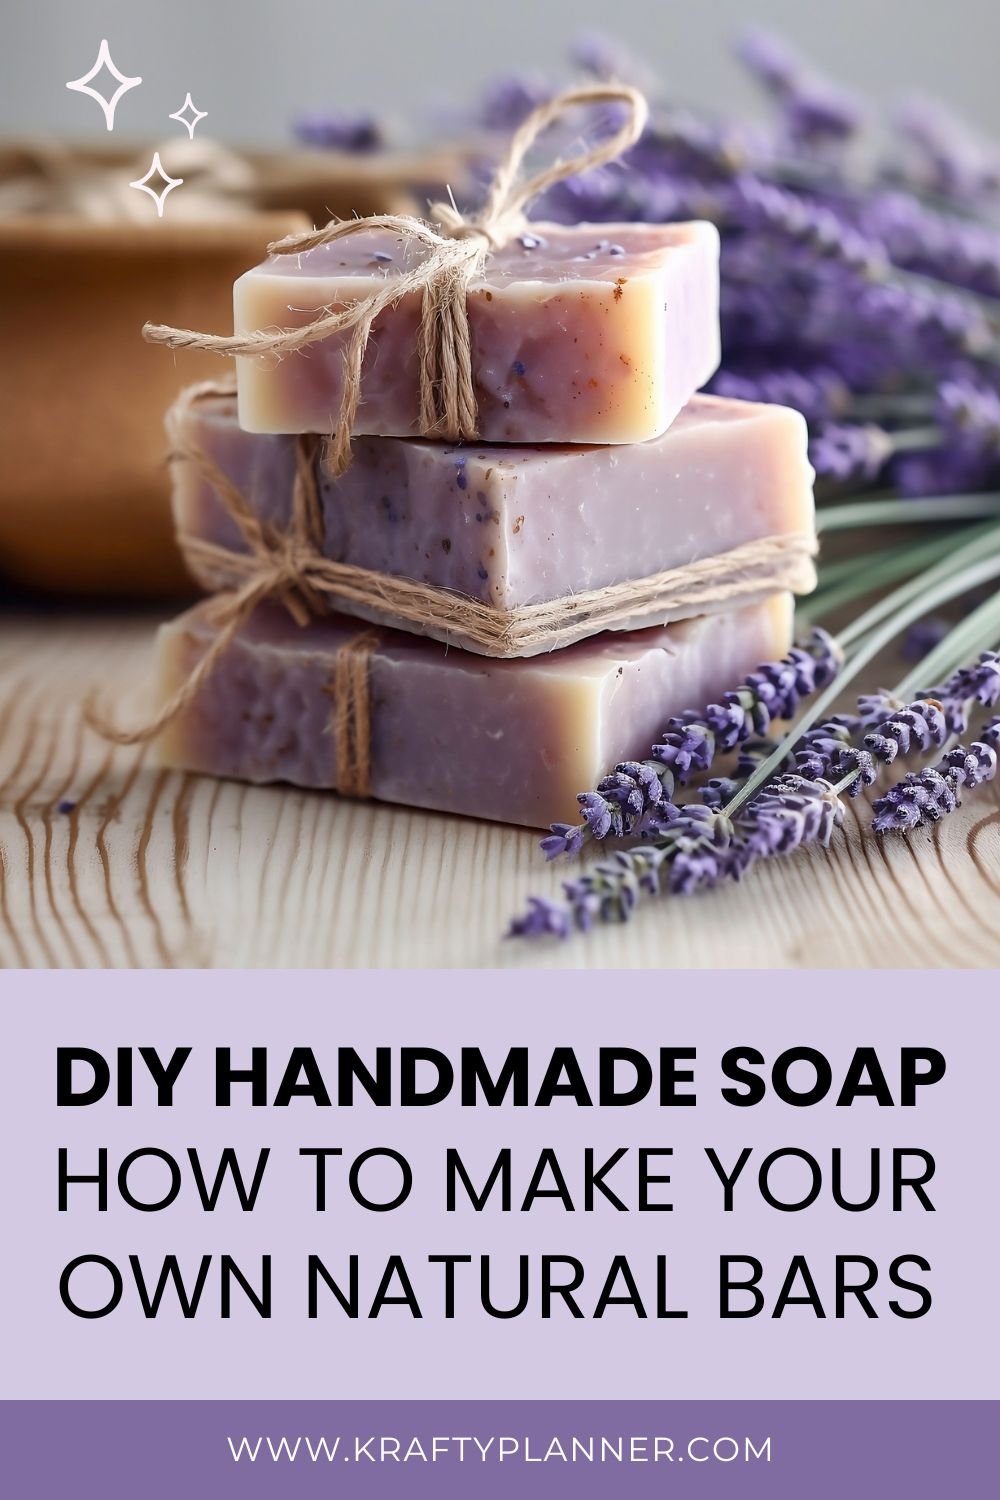
DIY Handmade Soap: How to Make Your Own Natural Bars

Understanding the Basics of Soap Making
Soap making is a fun and rewarding hobby. It lets you create custom soaps with the ingredients you choose. There are a few key things to know before you start.
The Chemistry of Soap Making
Soap forms when fats or oils mix with an alkali like lye. This process is called saponification. When you combine these ingredients, they react and turn into soap and glycerin.
The lye breaks down the fats. Then new compounds form. These new soap molecules can clean by attaching to both water and oil.
You need to be careful with lye. It's very strong and can burn you. Always wear gloves and goggles when using it.
Picking the right fats or oils is important. Different oils give soap different qualities. Coconut oil makes bubbly soap. Olive oil makes a gentle soap.
Types of Soap Making Processes
You can make soap in a few ways. The main types are cold process, hot process, and melt and pour.
The cold process is the most common for beginners. You mix lye and oils at low heat. Then you pour the soap into molds to harden. It takes 4-6 weeks to cure.
Hot process soap cooks at higher heat. This makes the soap ready to use faster. But it can be trickier to work with.
Melt and pour is the easiest method. You melt the pre-made soap base, add colors and scents, and then pour it into molds. It's great for crafts but gives you less control over ingredients.
Each method has pros and cons. Try different ones to see what you like best.
Preparing Your Soap Making Space
Setting up your soap making area is crucial for safety and success. A well-organized space helps you work efficiently and avoid accidents. Let's look at the key things you'll need to get started.
Essential Safety Gear
Safety comes first when making soap. You'll need protective gear to shield yourself from harmful chemicals. Put on gloves to protect your hands from lye and other ingredients. Wear long sleeves and pants to cover your skin.
Don't forget eye goggles to keep your eyes safe from splashes. A face mask can help you avoid breathing in fumes. Keep a bottle of vinegar nearby to neutralize any lye spills.
Remember, lye can be dangerous. Always handle it with care and respect. If you're new to soap making, take extra precautions and go slow.
Tools of the Trade
You'll need some basic tools to make soap. A large stainless steel or plastic mixing bowl is perfect for combining ingredients. Get a stick blender to mix your soap batter quickly and easily.
Measuring cups and spoons are a must for accurate recipes. A digital scale helps you weigh ingredients precisely. Silicone molds come in handy for shaping your soap.
Don't forget thermometers to check temperatures. You'll also want some wooden spoons or spatulas for stirring. Keep old towels or newspapers around to protect your work surface.

Choosing the Right Ingredients
Picking good ingredients is key to making great soap. Start with a quality soap base if you're a beginner. It's easier and safer than working with lye.
For more advanced recipes, you'll need oils like olive, coconut, or palm oil. These form the base of your soap. Lye is essential for turning oils into soap, but be very careful when using it.
Essential oils add nice scents to your soap. Choose ones you like, but check if they're safe for the skin first. You can also add natural colorants like clays or herbs for pretty soaps.
Remember to label all your ingredients clearly. Keep them separate from food items to avoid mix-ups.
Crafting Your Soap Recipe
Making soap at home lets you choose exactly what goes into it. You can mix oils, fats, and fun extras to create a soap that's perfect for you. Let's look at how to make your own soap recipe safely and creatively.
Lye Safety and Handling
Lye is a must for soap making, but it can be dangerous. Always wear gloves, goggles, and long sleeves when using lye.
Mix it in a well-ventilated area. Add lye to water, never the other way around. This prevents splashing. Keep vinegar nearby in case of spills. It neutralizes lye.
Store lye in a safe place away from kids and pets. Label it clearly. Use plastic or stainless steel tools with lye, never aluminum. Always let your lye mixture cool before adding it to oils. This makes soap making safer and gives better results.
Balancing Oils and Fats
Your soap's feel depends on the oils you choose. Coconut oil makes bubbles. Olive oil is gentle. Castor oil adds moisture.
Try this basic mix:
30% coconut oil
30% olive oil
30% palm oil
10% castor oil
You can swap palm oil for shea or cocoa butter. These make harder, creamier bars. Play with amounts to find what you like best. Always run your recipe through a lye calculator to get the right amount of lye.
Exotic Additives for Special Soaps
Additives make your soap unique. Try these fun ideas:
Oatmeal for scrubbing
Honey for moisture
Coffee grounds for scent and color
Herbs like lavender or rosemary
Essential oils add natural scents. Use about 0.5 oz per pound of oils. Some favorites are:
Peppermint
Lemongrass
Eucalyptus
Milk soaps are popular. Try goat's milk or coconut milk instead of water. This makes a creamy, nourishing bar. Remember, milk can scorch. Freeze it first, then add lye slowly.
Natural colorants are fun too. Try:
Cocoa powder for brown
Spirulina for green
Turmeric for yellow
Start with small amounts. You can always add more if needed.
Color, Scent, and Texture
Making handmade soap lets you get creative with colors, scents, and textures. You can use natural or synthetic ingredients to customize your soap's look, smell, and feel.
Using Essential Oils and Fragrance
Essential oils give soap a natural scent. You can use lavender, lemongrass, or other oils to make your soap smell nice. Just add a few drops to your soap mix. Be careful not to use too much, as it can irritate the skin.
Fragrance oils are another option. They come in many scents like cinnamon cocoa. These oils are stronger than essential oils, so you need less. Mix them in after your soap base is ready.
You can also blend different scents to make your own unique smell. Try mixing lavender and lemon for a fresh scent. Or use peppermint and eucalyptus for an energizing soap.

Adding Colors and Textures to Your Soap
There are many ways to add color to your soap. Natural colorants like cocoa powder make brown soap. Spirulina powder turns soap green. You can also use food coloring for bright shades.
To add texture, try mixing in flower petals or lavender buds. These look pretty and feel nice on your skin. Oatmeal or ground coffee beans make great exfoliants.
For a fun look, add some glitter to your soap. Use soap-safe glitter to keep it eco-friendly. You can also swirl different colors together for a marble effect.
Natural Vs. Synthetic Additives
Natural additives come from plants or minerals. They're good for sensitive skin and eco-friendly. But they may not be as bright or long-lasting as synthetic ones.
Synthetic additives are made in labs. They often give brighter colors and stronger scents. They last longer too. But some people prefer to avoid them.
You can mix natural and synthetic ingredients. For example, use natural essential oils for scent and synthetic colorants for bright hues. This gives you the best of both worlds.
When choosing additives, think about what's important to you. Do you want all-natural soap? Or do you care more about bright colors and strong scents? There's no right answer - it's up to you!
Molding and Curing Your Soaps
Molding and curing are key steps in making handmade soaps. These processes give your soap its final shape and make it safe to use.
Pouring and Setting the Soap
When your soap mix reaches trace, it's time to pour it into molds. You can use silicone molds, milk cartons, or even lined wooden boxes. Pour slowly to avoid air bubbles. If you see any, tap the mold gently on the counter.
For cold process soap, let it set in the mold for 24-48 hours. The soap will go through saponification during this time. It gets warm and turns from liquid to solid.
Melt and pour soap sets faster. You can often pop it out of the mold after a few hours. But wait until it's fully cooled and hardened.

Curing Process for Long-Lasting Bars
After unmolding, most soaps need to cure. This makes them milder and longer-lasting. Put your soap bars in a cool, dry place with good air flow.
Cold process soaps usually need 4-6 weeks to cure. Turn them over every week so all sides dry evenly. Melt and pour soaps don't need curing, but a few days of drying can make them harder.
You'll know your soap is cured when it's hard and doesn't feel sticky. A well-cured bar will last longer in your shower. It's worth the wait for a better soap!
Creative Soap Making Variations
Soap making offers endless possibilities for creativity. You can make unique soaps for different needs and add fun decorative touches.
Specialty Soaps for Different Uses
Try making shampoo soap bars for your hair care routine. These bars often include nourishing oils like jojoba or argan. You can also create foaming hand soaps by adding a foaming pump to liquid soap.
For exfoliation, make poppy seed soap or loofah soap. Just add poppy seeds to your soap base or pour soap over a thin slice of loofah.
Natural soap lovers can make pumpkin spice soap with real pumpkin puree and spices. Or try lavender soap using dried lavender buds and essential oil.
For a spa-like treat, craft honeycomb soap by pouring soap into a silicone mold with a honeycomb pattern.

Decorative Techniques for Beautiful Soaps
Make your soaps eye-catching with fun designs. Try swirling different colors together for a marbled look. You can also embed dried flowers or herbs on top of your soap.
For a sparkly effect, sprinkle mica powder on your soap as it sets. Or make crystal soap by creating clear glycerin soaps with crystal shapes inside.
Use cookie cutters to make fun shapes after your soap hardens. You can also layer different colors of soap for a striped effect.
Add texture by using a cheese grater on partially hardened soap. Or try the spoon swirl technique to create wavy patterns on the surface.
Here are a few more posts you might like:
Free Printable Library Book Tracker: Keep Tabs on Your Reads
Effective Monthly Reviews: Questions to Keep You Accountable
See my Link Party Directory for a current list of blog parties I attend each week.
This post was featured on the following link parties, thank you for your support! ❤️


FOR PERSONAL USE ONLY – Please Read Freebies Terms of Use
(This post may contain affiliate links. For more information, see my disclosures here)
~ SHARE THIS POST ~
Did you like this post? Do you know someone else who might enjoy it? Please take a minute to share it on Pinterest, Facebook, or your favorite social media… Thank you!